Dimensional Gauge Company techs are the experts in granite surface plate calibration and repair. We are not a “Clearing House” calibration lab. We are highly skilled specialists that can provide surface plate calibration and recertification the other labs cannot. Is it time to have your granite surface plates calibrated by professionals? See our detailed discussion on Granite surface plate calibration.
Surface plate calibration includes repair capability and should be performed only by experts.

Mean Plane (Flatness) Test:
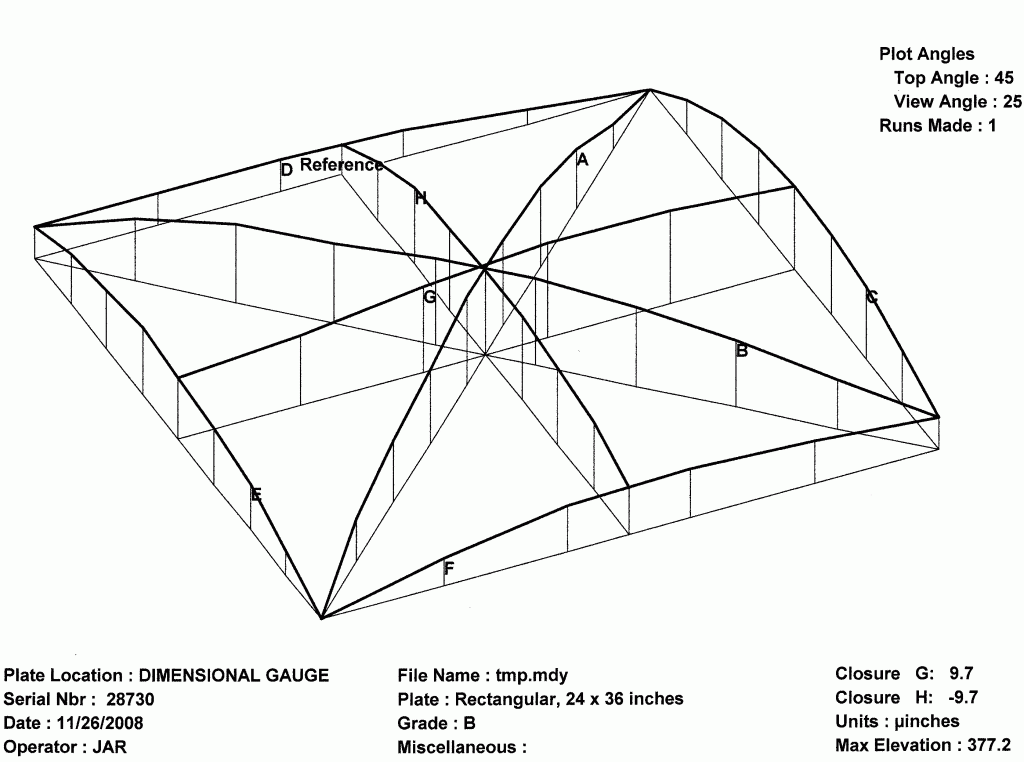
Starting with a test of flatness, repeatability, and Delta T for a Mean Plane. A computer-generated topographical plot providing evidence of a Mean Plane (Overall Flatness) value that will be reported on the certificate. You will not get this from labs that use autocollimation to test flatness. It also qualifies the Repeat Reading test and quantifies the flatness value with a real number.
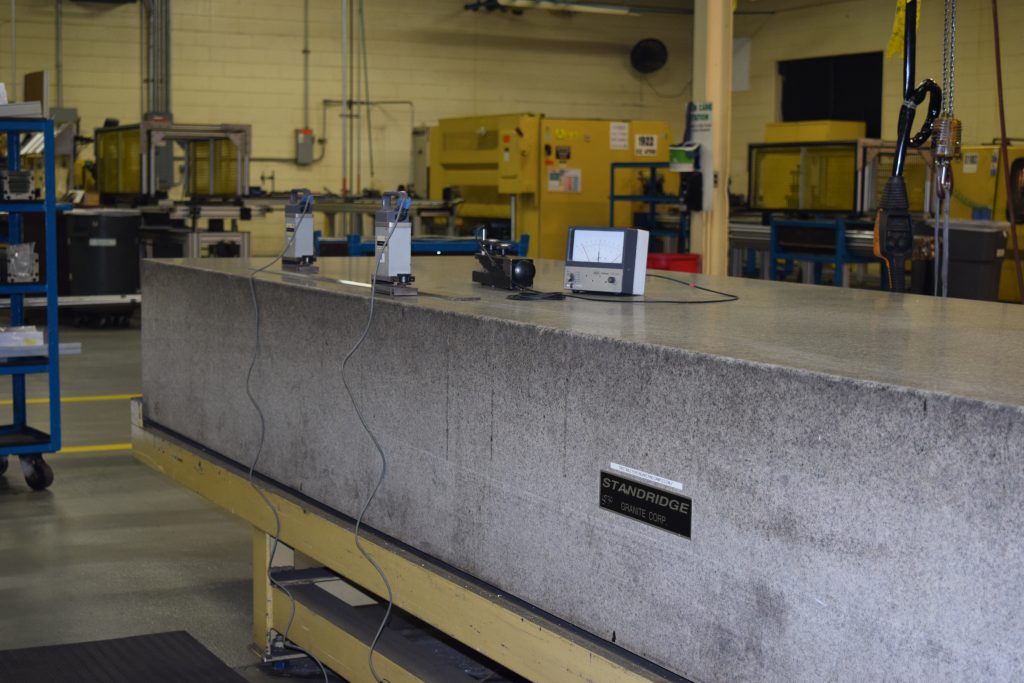
For best surface plate calibration we use electronic levels to measure the plate for flatness and generate a topographical plot to prove our work. The levels have .1 arc second resolution but typically used in 1 arc second resolution or (.000004841″ on a 4″ sled) and they are capable of very good measurement uncertainties as the reference is gravity. The Mean Plane (Flatness) test is used to qualify a plate after a repeat reading repair.


Repeat Reading Test:
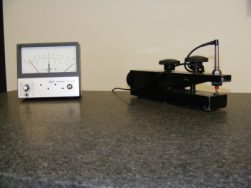
This instrument utilizes a 10″ diameter, 5″ radius floating fixture with a 5 uIn. resolution LVDT/Amp that tests for localized wear. Repeat Reading is not a flatness test, contrary to what you might have been told. It measures only a change in the radius relative to the position of the fixture/LVDT position when it is initially zeroed. A change in the radius is caused by localized wear.
The Repeat Reading (Repeatability) is the easiest to test but the most difficult part of a repair. It is also the most critical test parameter of a granite plate surface as it is caused by repetitive use and wear. A”perfect” repeatability does not indicate flatness because the surface could be convex or concave. A flatness test alone or a repeat reading test alone is an incomplete calibration.
The Thermal Gradient Test
The thermal gradient test (Delta T) is not only required but it is crucial in a proper surface plate calibration and report. The average coefficient of thermal expanison in granite is 3.5 uIn./In./Degree. The Delta T will be measured by a competent lab and reported on a qualifed certificate. The Delta T is important to know because as little as .5 degree Delta T shift can render a plate out of tolerance. The user is responsible to know, especially in critical applications, if the Delta T has changed so he can determine the affect it will have on the overall flatness. Dimensional Gauge has always reported Delta T and we are one of the very few labs in the country that does. (We actually read the standard)
